Storyist 3 for Scrivener Users
If you're coming to Storyist from Scrivener, welcome! This overview covers some things you might have questions about as you get your feet wet, including:
- Opening a Scrivener Project in Storyist 3 for macOS
- Syncing with Storyist for iOS
- Taking Advantage of Style Sheets
- Working with Workspaces
- Using Autosave and Versions
- Exporting Storyist Projects to Scrivener
Opening a Scrivener Project in Storyist 3 for macOS
Opening a Scrivener project is straight-forward: Just select File > Open and choose a Scrivener project. Storyist creates a new, blank project and imports the contents of your Scrivener project. Storyist imports text and formatting information, images, comments, index card summaries, and project structure.
You can save this new Storyist project wherever you want. The contents of your original Scrivener file will not be affected.
There are a couple of things to note:
- Since Scrivener doesn't support style sheets, Storyist adds a default style sheet to each imported text file. This doesn't modify the formatting you've applied to the text. If you want to take advantage of style sheets (which are pretty powerful—see below), you can edit the default style sheet to match your formatting preferences.
- The text editor supports headers and footers, so you can add these directly to your text files if you want.
- Storyist doesn't require a special Draft folder. File selection for inclusion in an ePub or Kindle edition is handled in the export phase, so Storyist folders can contain any project item type.
Syncing with Storyist for iOS
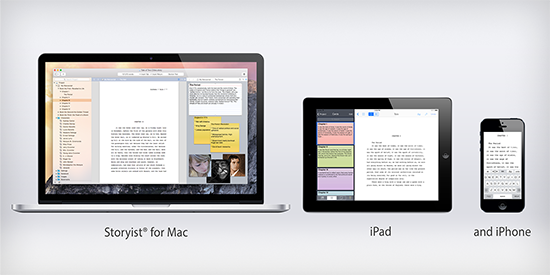
Storyist for iOS is a version of Storyist that runs on iPad, iPhone, and iPod touch devices. If you plan to write with multiple devices, you'll want to set up syncing on your iOS device as described in the Users Guide.
On the Mac side, you have two options:
- If you want iCloud or Dropbox to automatically sync your Storyist projects from your hard drive to the cloud, store them in the Storyist folder in your iCloud Drive or Dropbox folder (this is where Storyist for iOS looks for them) and edit them from there.
- If you want to control when sync occurs, store your Storyist projects wherever you like and copy them to the Storyist folder when you want to sync.
Taking Advantage of Style Sheets
A style is a named collection of font and paragraph formatting settings. Each Storyist text file has a group of styles, called a style sheet, which can be used to format your document quickly and consistently.
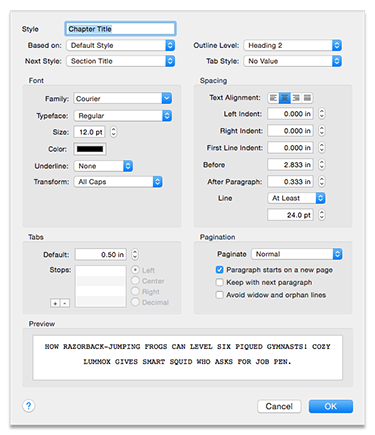
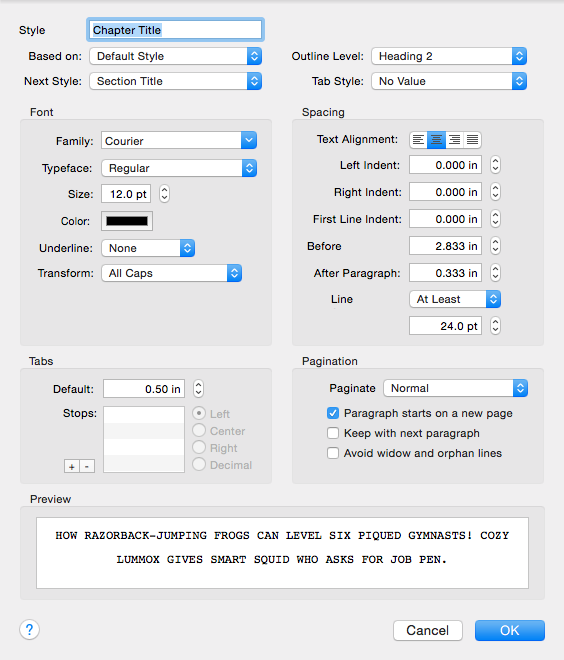
The screenshot above shows the style editor, which you can access by placing the cursor in some text and choosing Format > Style > Edit Current Style.
Note that in addition to font and spacing settings, Storyist styles provide support for:
- Outline (Heading) level—Storyist uses heading levels to build document outlines. These outlines appear in the Project view, the Outliner, and the Storyboard. This means that you can outline your project down to the heading level, not just the file level, giving you more flexibility in how you structure your project.
- "Next" and "Tab" styles—styles that are automatically applied when you press the Return key at the end of a paragraph, or the Tab key at the start of an empty paragraph. This makes it easy to change styles with a few keystrokes.
- Text transformations (for example, all caps)
- Widow and orphan control.
Storyist provides style sheets with each project and text file template, and can import style sheets from RTF files if they are available. Microsoft Word, for example, includes style sheets in the RTF files it exports. Scrivener text files don't include style sheets, though, so Storyist provides a default style sheet on import.
If you want to maintain the formatting you've set up in your text file, you can update the style sheet to match your formatting. To do this:
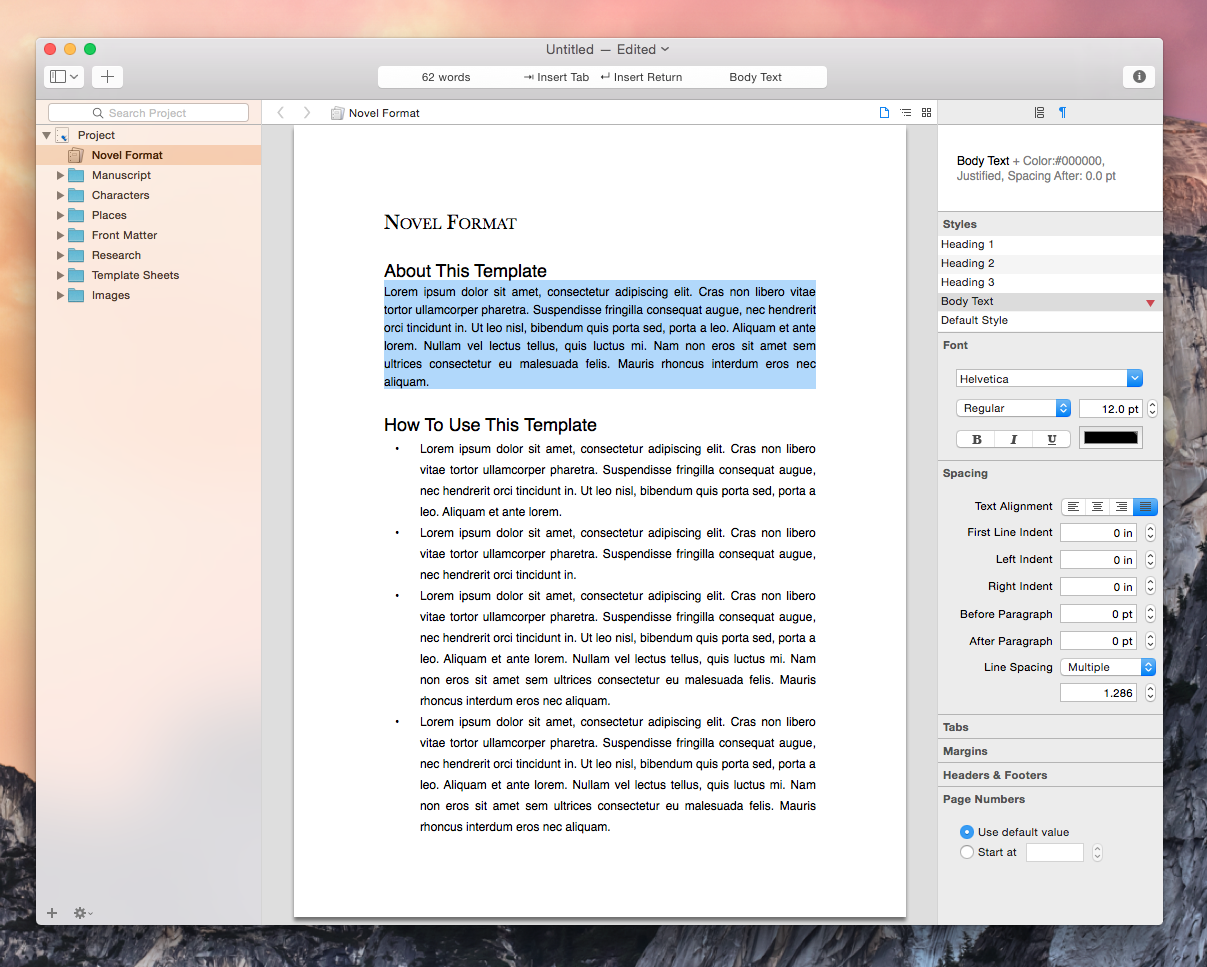
- Place the cursor in the body text of one of your files. You can use the text formatting inspector (shown in the above screenshot) to see:
- The style that is assigned to the text at the current cursor location. In the above example the "Body Text" style is applied to the first paragraph.
- The "style overrides" describing the differences between the style that is assigned to the text at the current location and the formatting that is applied to the text.
- The list of styles available to the current file.
- Choose Format > Style > Redefine Style from Selection. This updates the current style's definition to match the currently selected text.
You can now use this style sheet to quickly format the current file.
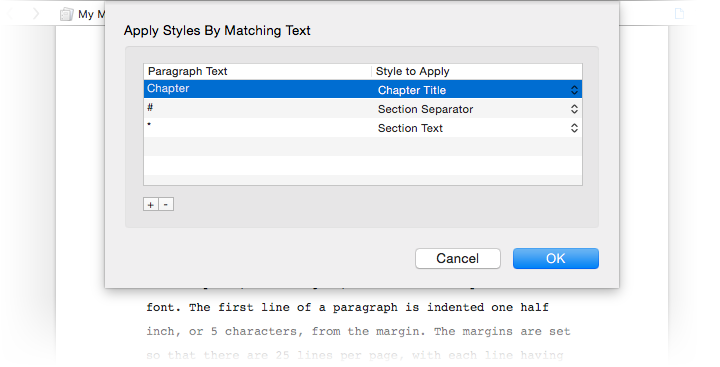
Note that Scrivener text files don't contain heading level information, so heading styles aren't applied on import. Heading styles are available in the default style sheet, though, and you can use the Format > Style > Apply Styles by Matching Text command to quickly apply them to paragraphs of text (for example, paragraphs that start with the word "Chapter").
If instead you want to reformat your text file with styles from another style sheet, you can use the Format > Style > Change Stylesheet command.
The Change Stylesheet command lets you reformat using:
- One of built-in style sheets.
- A style sheet from one of the text file templates available to Storyist
- A style sheet from another file in the project
Working with Workspaces
Storyist is designed to work well on both laptops and desktops, and supports many view configurations including:
- Nested split views. You can you split the views in a window as many times as you want (See the View > Split commands). If you have a large monitor, this can be especially useful.
- Multiple windows. You can spread your project windows out over multiple monitors. To create a new window on your current project, choose File > New > Window.
It can be cumbersome to repeatedly configure your views and windows, so Storyist provides the ability to create workspace snapshots to quickly recall your settings.
To create a workspace snapshot:
- Arrange your workspace to suit your needs.
- Choose Window > Workspaces > New Workspace.
Storyist takes a snapshot of the view settings and brings up the Workspaces panel so you can name the new workspace. You can then switch between workspaces using the Workspaces panel, the Views toolbar item, or the Windows > Workspaces menu.
Using Autosave and Versions
Storyist 3 adopts Apple's Autosave and Versions technology, which means several things:
- Storyist automatically saves your project to disk every few minutes to help minimize data loss in case of power failure or other unforeseen circumstance.
- Storyist creates backup versions of your project regularly (every hour and whenever you use the File > Save command).
- Backups follow your project, even if you rename the project or move it to another folder.
- If you set up Time Machine, versions are not only saved to your local hard drive but are backed up to your Time Machine drive as well.
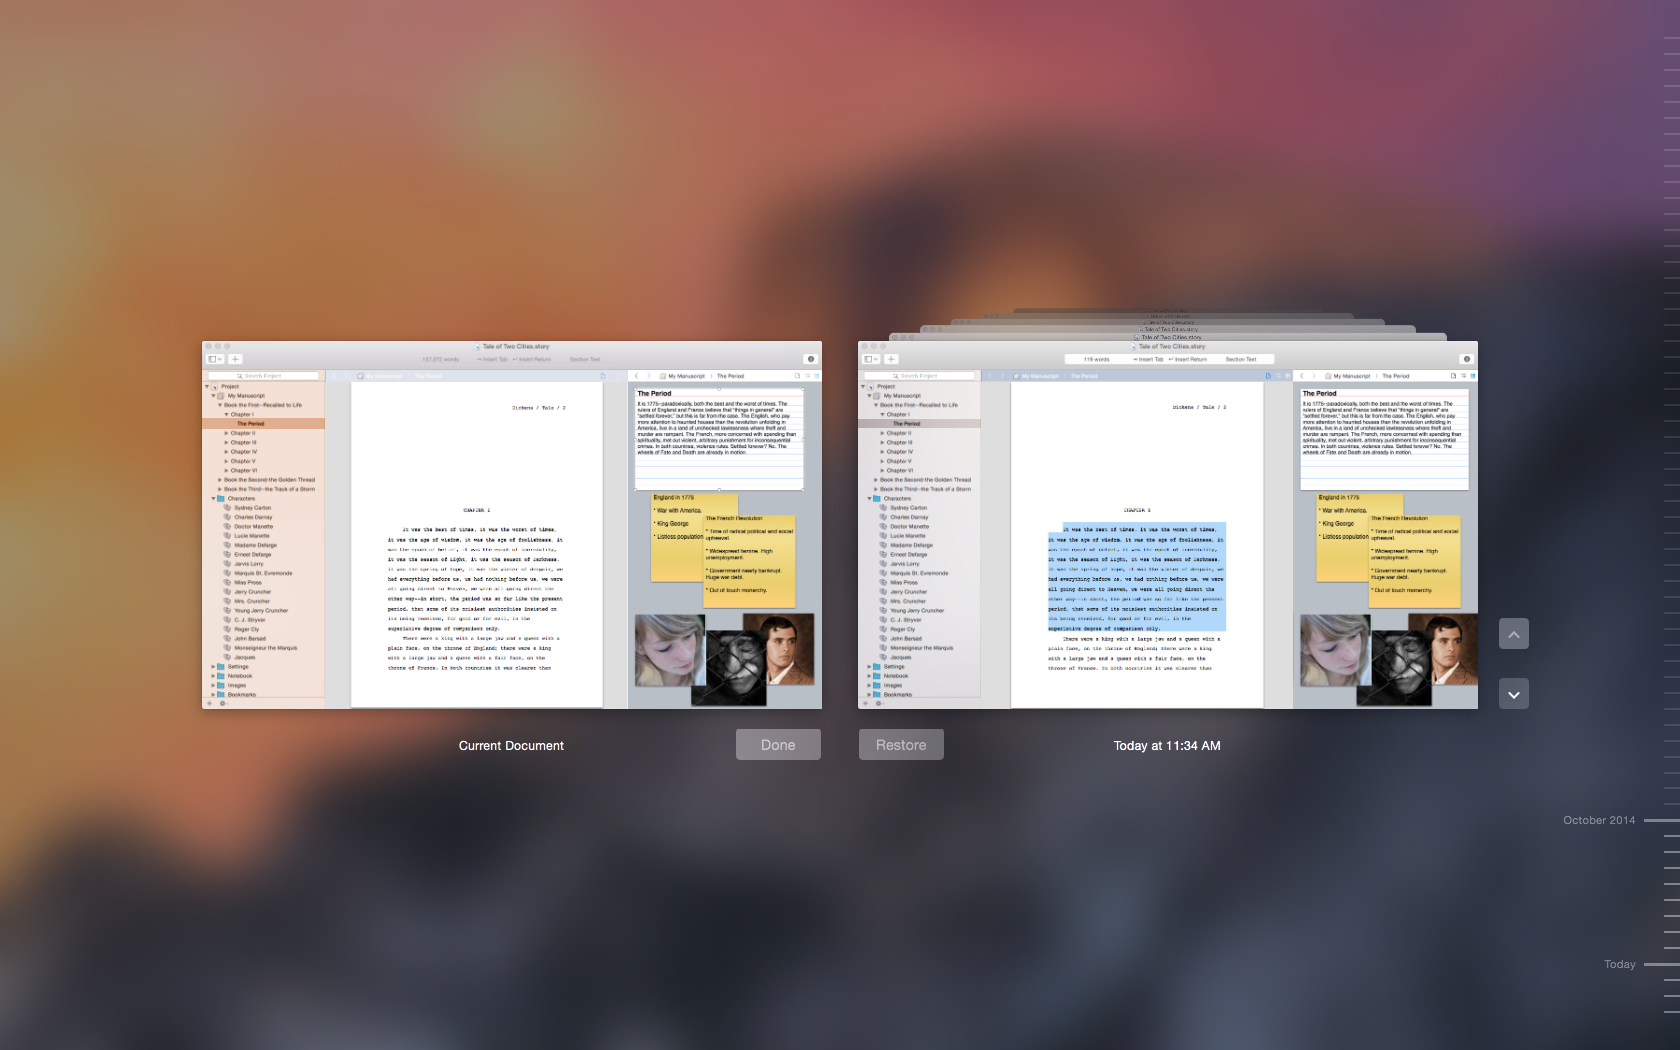
- You can browse the automatically saved backups (whether they're stored on your local drive or your Time Machine drive) and compare them to the current project. This makes it easy to copy sections of text from a previous version and paste it into your current version.
You can learn more about Autosave and Versions in the Storyist 3 for Storyist 2 Users tutorial.
Exporting Scrivener Projects
Storyist 3 for macOS can also export projects in Scrivener format.
To do this:
- Choose File > Export and select the files you want to include in the project.
- Set the Export popup to "Files" and the Format popup to "Scrivener (.scriv)" and click Next.
- Choose a name and location for the project and click Export.
That's it.
Where to Go from Here
The New in 3 and Storyist 3 for Storyist 2 Users pages have more information about what's new in Storyist 3.
The support page has links to User Guides for both the Mac and iOS versions.
The Storyist Forums is a good place to ask questions of other writers in the Storyist community.
Finally, to receive notification of new releases, quick tips for using Storyist, and links to writing-related topics, follow @storyist on Twitter.