Welcome to Storyist
Overview
Storyist 4 is a creative writing application for macOS 10.14 Mojave or later. Designed with novelists and screenwriters in mind, it provides:
- A word processor with a page layout view and support for headers, footers, and style sheets.
- A storyboard with support for index cards and photos.
- An outliner.
- Customizable story sheets.
- A project manager with fast, project-wide search capabilities.
- Full-screen editing.
- Wiki linking.
- Smart text.
- Quick styles.
The Word Processor. Like most creative writing applications, Storyist provides a full complement of word processing tools, including spelling and grammar checking. And it comes with project templates that provide style sheets for industry-standard formatting.
The Storyboard. Sometimes, you want to put a face to a name. Storyist lets you cast your novel or screenplay with images from your photo collection or the web. You can also view, edit, and arrange your scenes and plot points using virtual index cards. And Storyist automatically transfers your storyboard information to story sheets for in-depth development.
The Outliner. A flexible outlining tool lets you display and edit not only your section or scene summaries but also your plot, character, and setting notes.
Customizable story sheets. Story sheets are editable forms tailored for novel writing and screenwriting. You use them to record information about your story, such as a character’s age or a setting’s description. Storyist comes with story sheets for plot, character, setting, and section/scene. And story sheets are customizable, so you can capture the information you want to capture.
The Project View. The Project view keeps all your project files organized and accessible. The search field lets you quickly find what you’re looking for anywhere in your project and return to your writing.
Full-screen Editing. Want to remove the distractions and focus on your writing? Full-screen editing puts the whole screen at your disposal, turning your Mac into a dedicated writing environment.
Wiki linking. Your notes become much more valuable when you describe the relationships between them with links. Using a simple Wiki syntax, you can quickly create links to any file in your project and even create the files themselves. And when you do, Storyist maintains your links for you. If you change the title of a notebook entry, the titles of any links to it update automatically. If you move a plot point to a new section, plot point links in your Section Sheets adjust accordingly.
Smart text. In screenplay mode, Storyist collects your scene introductions, locations, times, character names, and transitions as you type and auto-completes them for you when you need them.
Quick styles. Tab and Return key shortcuts make changing between novel or screenplay elements as simple as typing a key or two. And with shortcuts for all of your styles, you can focus on writing, not formatting.
Installing Storyist from the Storyist Website
Installing the Storyist application is easy. To install it from the website:
- Visit https://www.storyist.com/downloads and download the latest version of Storyist.
- Locate the file named “Storyist.dmg” or “Storyist-\<x.y.z>.dmg” (where x.y.z is the current version number) in your downloads folder.
- Double-click the file. macOS will decompress the file and make it available (mount it) in the Finder.
- Drag the Storyist icon to the Applications folder.
When you first run the app, your free trial starts automatically, and a dialog appears, giving you the option of continuing the trial or purchasing a license.
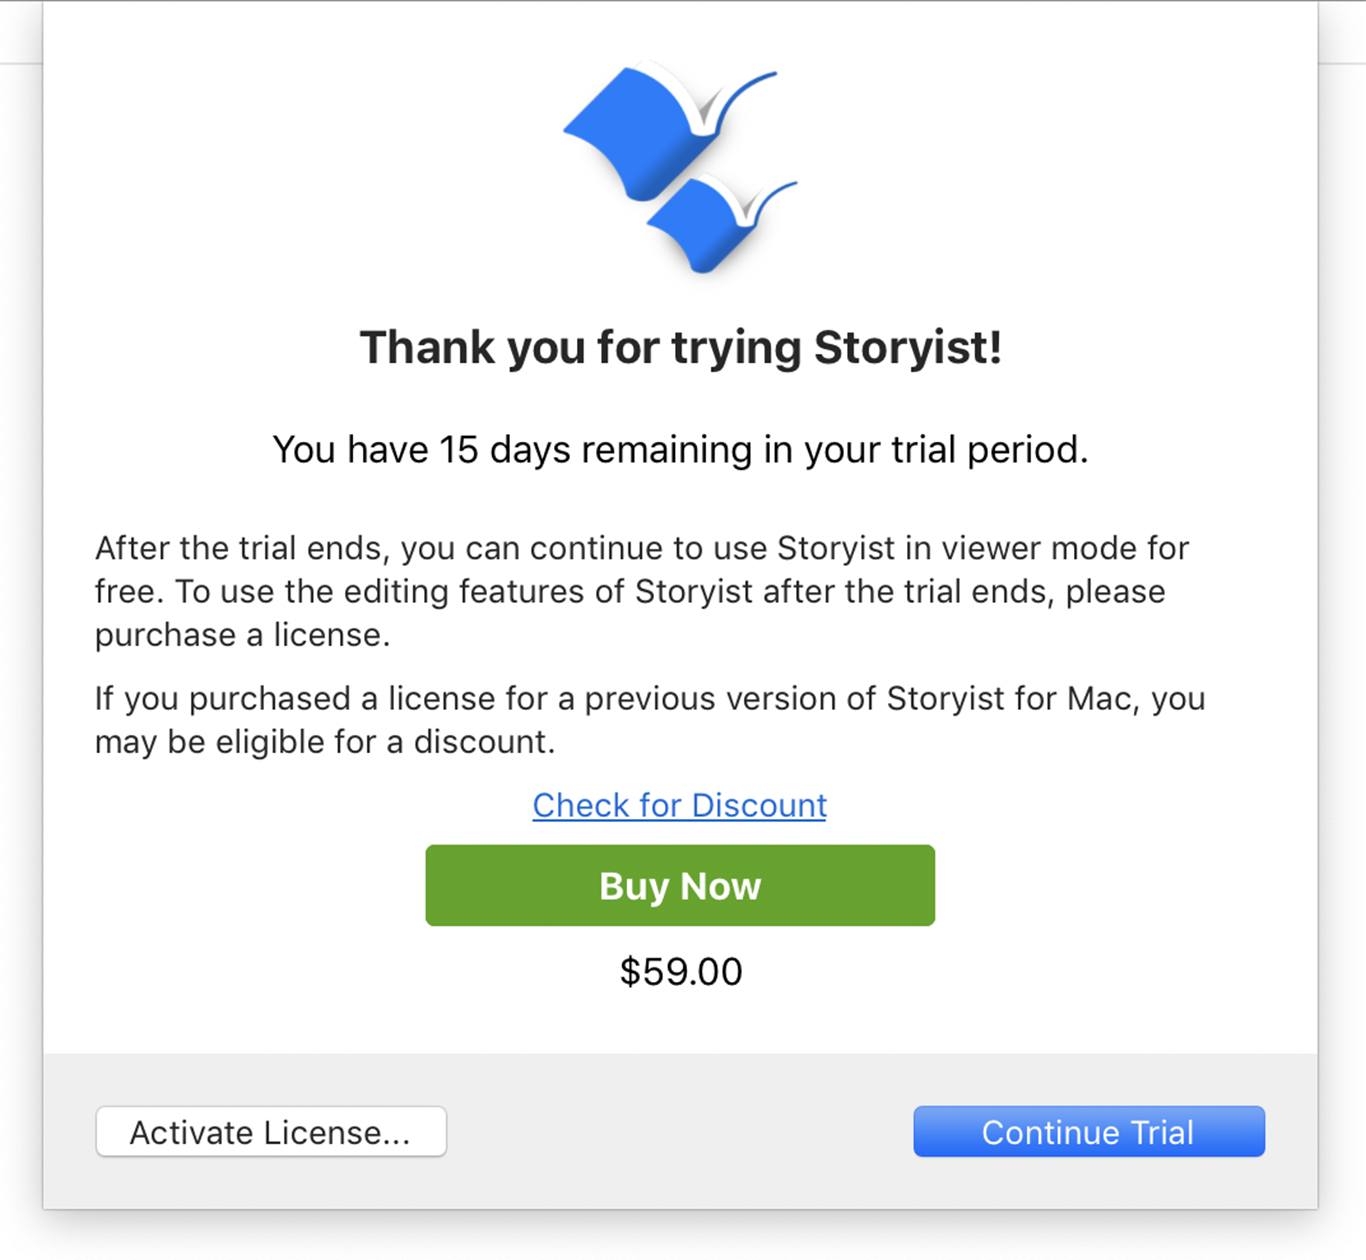
After the free trial concludes, you can continue using the app in Viewer mode for free. To use the editing features of Storyist after the trial ends, please purchase a license by clicking the Buy Button and following the prompts. After you complete the purchase, the app is unlocked automatically.
You’ll also receive an email with your license code, which you can use to install Storyist on other Macs. To install your license code:
- Install Storyist from the Storyist website, as described above.
- Launch Storyist.
- When the Trial dialog appears, click the Activate License button.
- Enter your email address.
- Enter your license code.
- Click Activate License.
Storyist can use your Internet connection to automatically check for updated versions. To enable automatic update checking:
- From the main menu, choose Storyist > Preferences.
- Click the General icon.
- Click the “Check for updates” pop-up menu and choose the frequency for checking.
You have the option of sending your system information to Storyist Support when you check for updates. By sending your system information, you encourage better support for your system configuration in future releases. The information sent is anonymous and is not associated with your name or any other personal information. To see the type of information that is sent, click the Privacy Policy button.
Installing Storyist from the Mac App Store
Storyist is also available from the Mac App Store. To get it from the Mac App Store:
- Open the App Store app in your Applications folder.
- Click the Search field, locate Storyist, and open the Storyist page.
- Click Get.
Storyist 4 is free to download. When you first run the app, a dialog appears, giving you the option of starting a free trial, purchasing a license, or restoring a previous purchase.
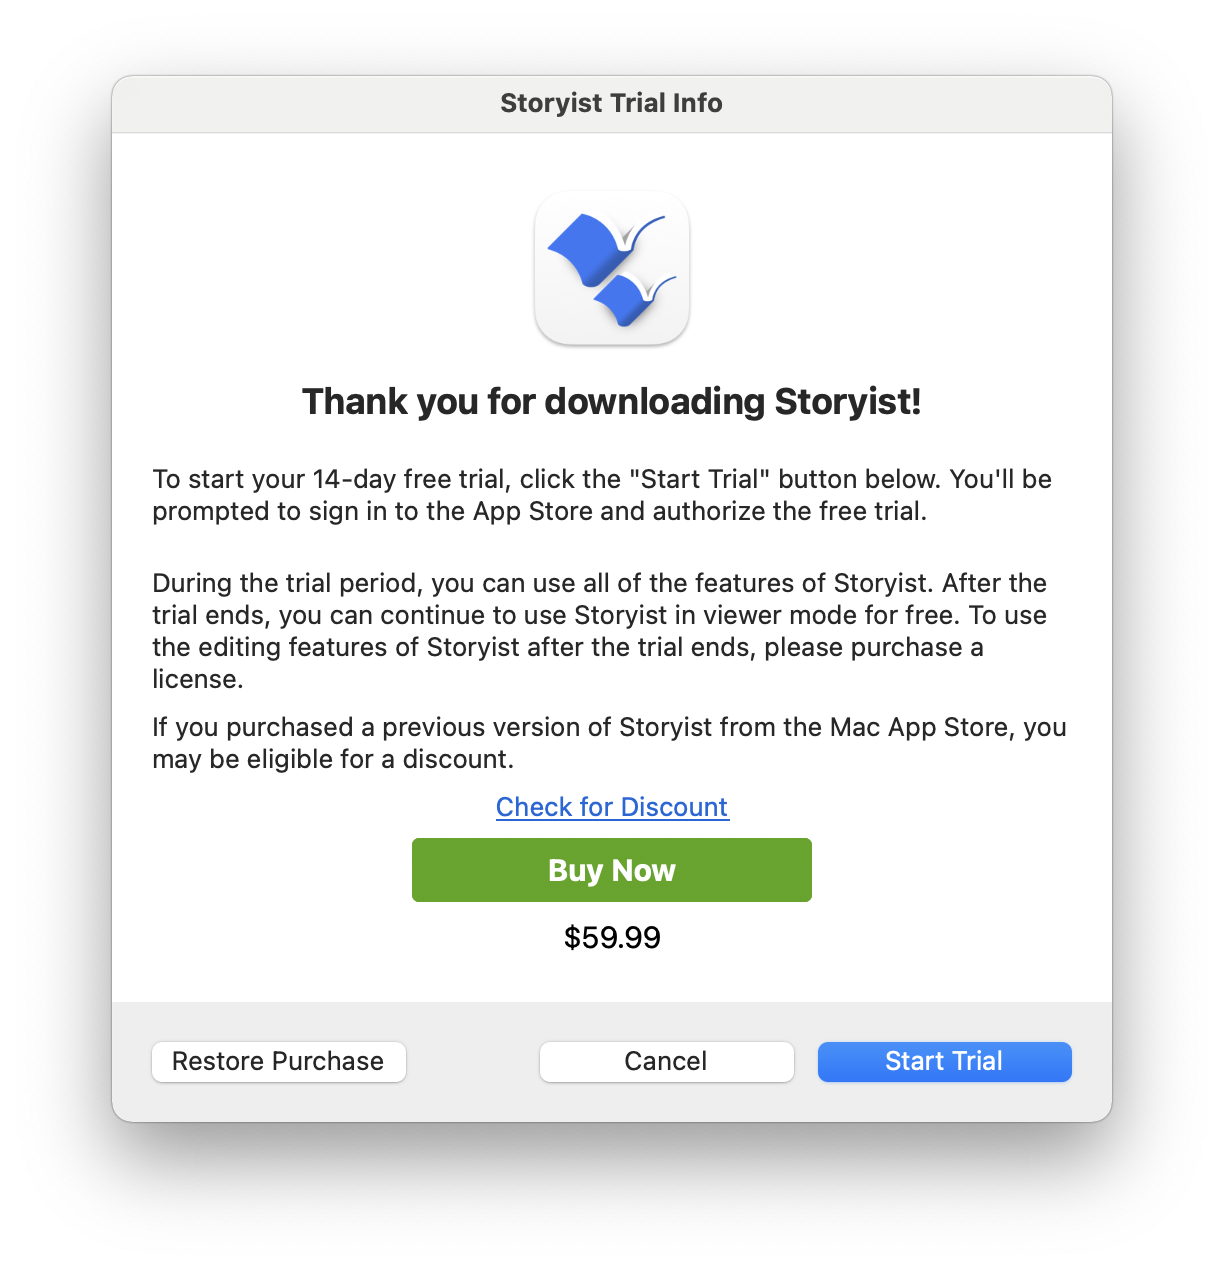
To start the free trial:
- Click Start Trial.
- Log in to the App Store if prompted. You’ll see a message asking you to confirm your in-app purchase. You’ll see a message asking, “Do you want to buy one Free Trial for $0.00”.
- Click Buy. (The trial is free. Storyist just needs to register it with Apple.)
You can also use the app in Viewer mode instead of starting the trial. Viewer mode allows read-only access to Storyist projects, and you can export or copy text from it.
After the free trial concludes, you can continue using the app in Viewer mode for free. To use the editing features of Storyist after the trial ends, please purchase a license by clicking the Buy Button and following the prompts. After you complete the purchase, the app is unlocked automatically.