Creating Print-Ready Books
When your manuscript is complete, you can create print-ready PDFs to send to a professional book printing service like Blurb.
The process is straightforward:
- Create a new “Book” project item from one of the included templates.
- Add the text files for your chapters and sections to the book body.
- Add front and back matter (for example, a title page, table of contents, and copyright page).
- Adjust the page size and layout to your preferred settings.
- Export the PDF.
Note
For a step-by-step tutorial (with sample files) that walks you through the process of creating a PDF book, see Creating a PDF for Print.
Creating a New Book
To add a new book to your project:
- Choose File > New > Book.
- Select a template for your book.
The built-in templates provide a starting point for further customization and include beautifully designed style sheets and default settings for page size and bleed.
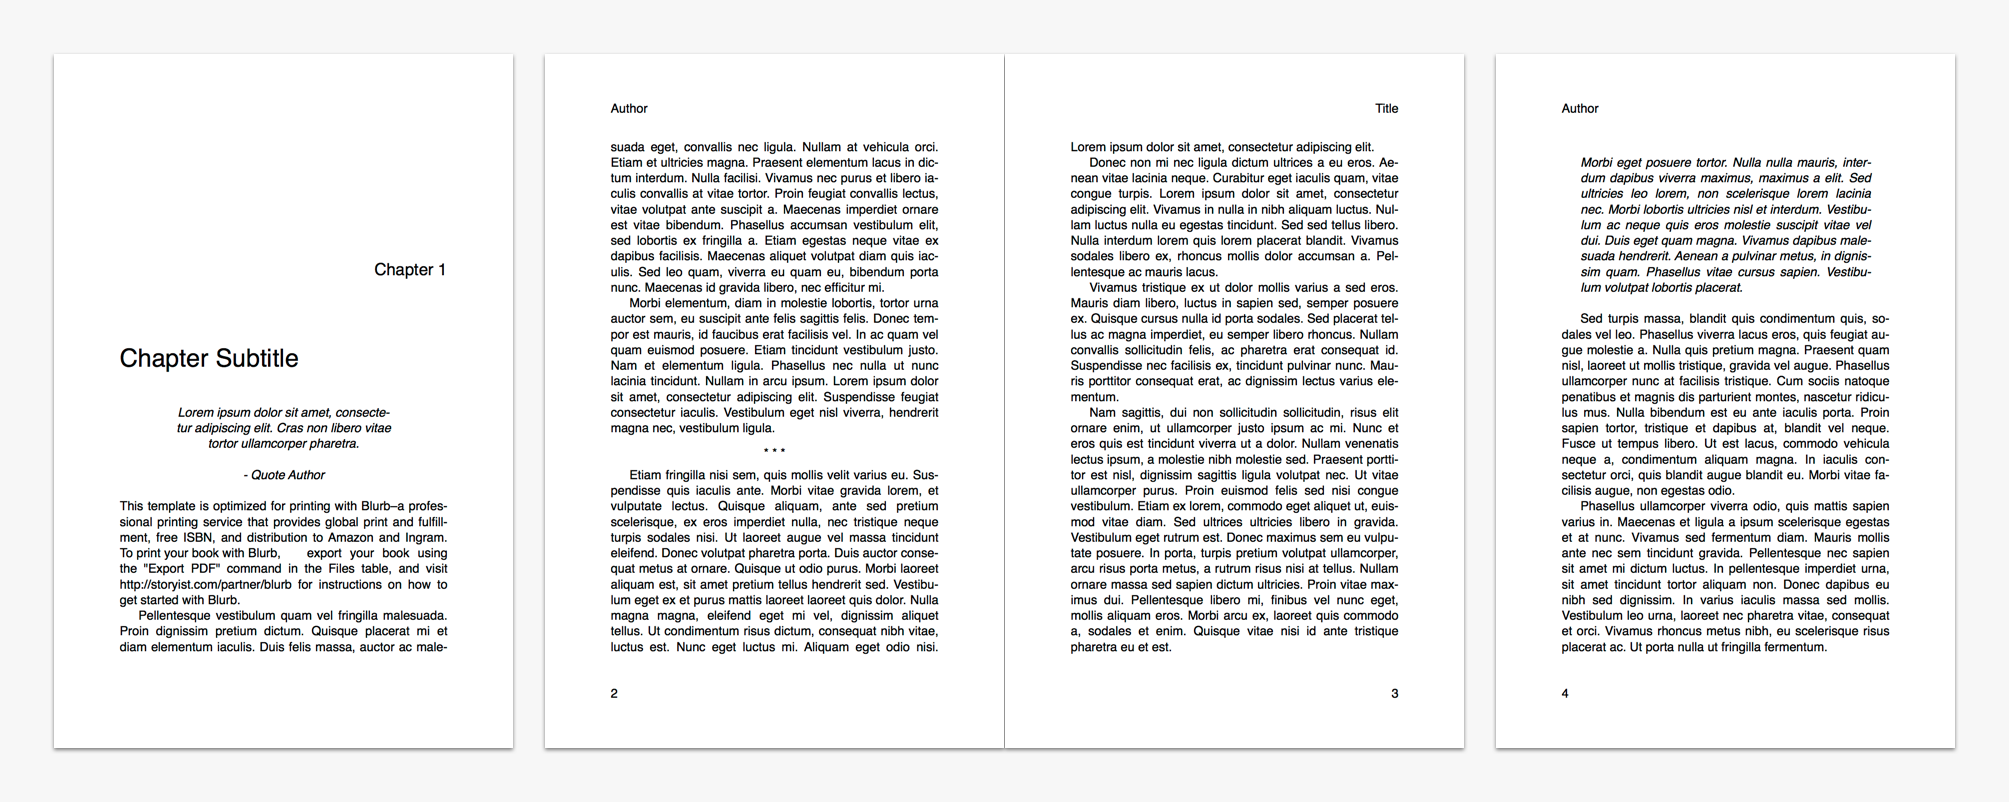
PDF Edition–A general-purpose template, set in Baskerville, suitable for fiction and nonfiction.
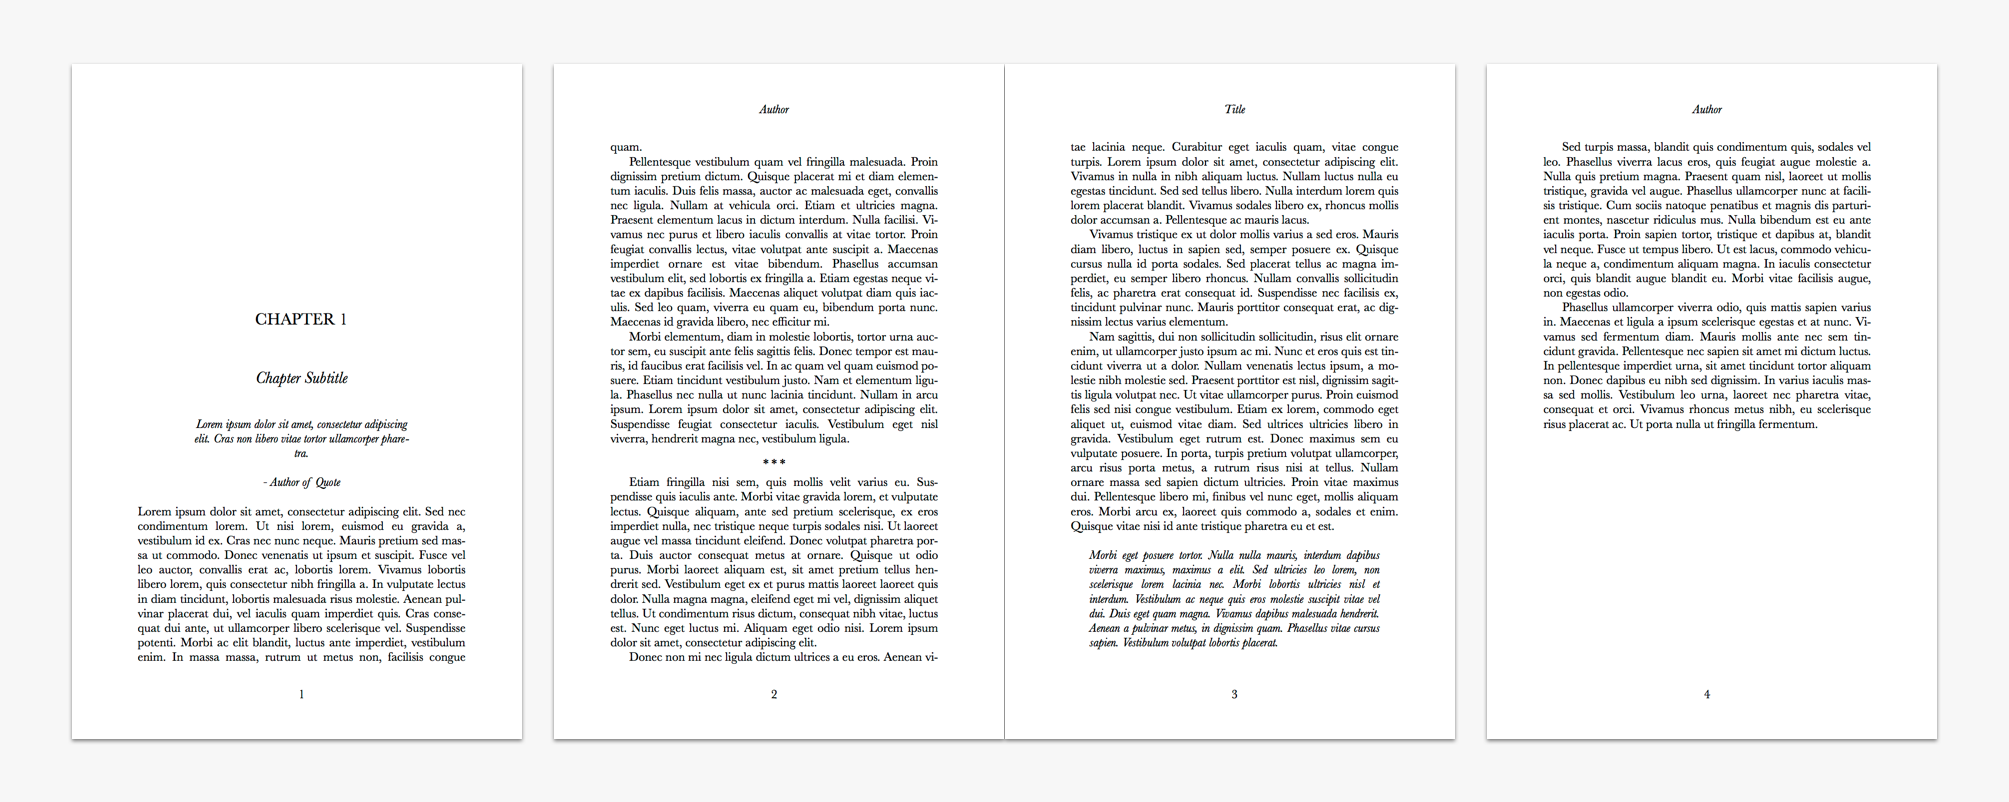
Blurb Trade Book (Classic)–Set in Georgia, this template provides a classic design for novels and memoirs. The template conforms to the page size, margin, and bleed requirements for Blurb Trade Books.
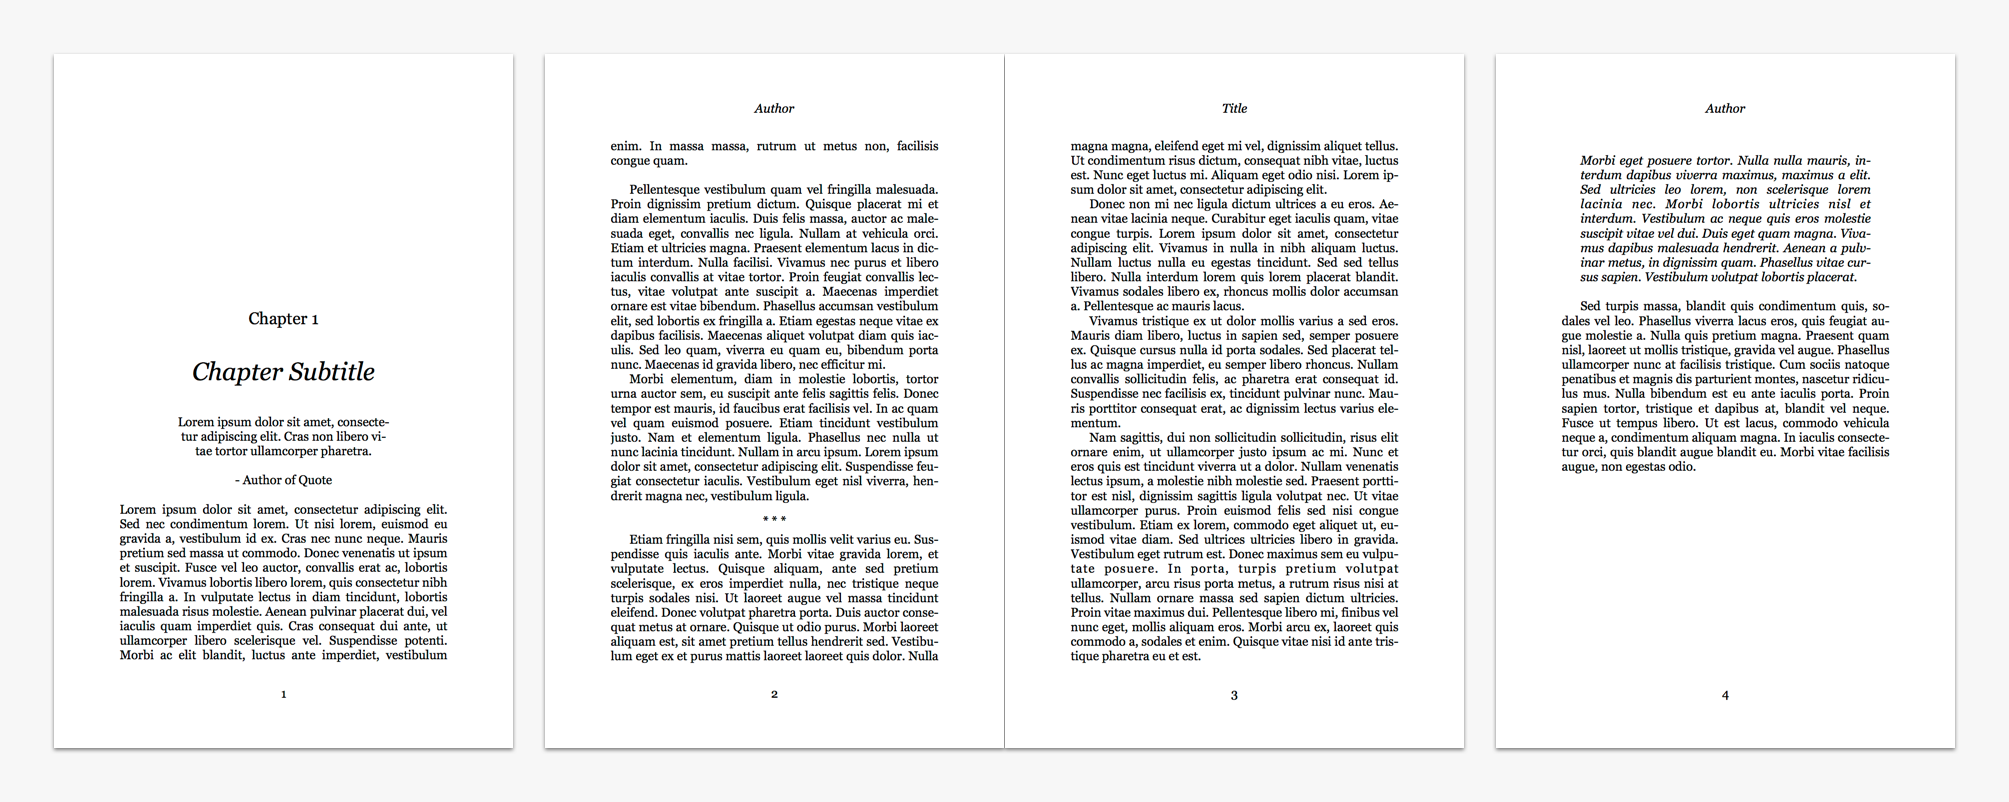
Blurb Trade Book (Modern)–Set in Helvetica, this template provides a modern design for general nonfiction. The template conforms to the page size, margin, and bleed requirements for Blurb Trade Books.
Adding Files
A new book has no content. To add files from your Storyist project to the book:
- Click the Add (+) button in the Files table in the book editor.
- Choose “Add Project Files.”
- Select files from the dialog that appears.
You can also drag text files directly from the Project view.
By default, Storyist assumes that the files you add from the project are part of the book text (not the front- or back matter). You can change the file’s role in the book by opening the Formatting inspector and setting the Role pop-up button to the appropriate value.
If you don’t want the file’s headings to appear in the table of contents:
- Select the file in the Files table.
- Deselect the “Include in table of contents” checkbox in the Formatting inspector.
Storyist can automatically create and maintain a table of contents for your book.
- Click the Add (+) button in the Files table in the book editor.
- Choose “Add Automatically Generated File.”
- Choose “Table of Contents” from the menu that appears.
Adjusting the Page Size and Layout
The page (trim) size of your book is often different from the size of your manuscript pages.
To set the page size for your book:
- Select your book in the project view.
- Open the File Info inspector.
- Choose a size from the Page Size pop-up button. If you don’t see the size you’re interested in, choose “Other” and choose one of the standard sizes.
To set the margins:
- Select the book in the Project view.
- Open the Formatting inspector.
- Enter the margins in the Margins pane. Note: The margins and header/footer settings apply to the entire book.
If you’re creating a book for print, select the Mirror Pages checkbox. This will change the Left and Right margin labels to Outside and Inside. Make sure you allow a wide enough margin inside the page spread that the text on your pages doesn’t disappear into the binding. Book printers post minimum recommended margins on their websites.
On a printing press, pages are printed on paper that is slightly larger than needed and then trimmed down to size the final page (or trim) size. Bleed is printing that extends beyond the edge of where the sheet will be trimmed. Book printers post minimum required bleed settings on their websites too.
To set the bleed:
- Select the book in the Project view.
- Open the File Info inspector.
- Enter the bleed in the Bleed pane.
As with margins, you can select the “Mirror Pages” checkbox so that the left and right bleed settings instead specify the outside/inside values.
You can view the margin and bleed boxes using the View > Layout > Show Page Guides command.
Mapping Manuscript Styles to Template Styles
Each book template comes with a style sheet that specifies the look of the headers, footers, headings, and body text for the book. If the “Apply formatting from template” checkbox (located in the Styles pane in the Formatting inspector) is selected when you build the book, Storyist will reformat your source (project) files with the style sheet from the template.
You can control which source styles are mapped to which template styles using the table in the Styles pane.
The “Styles in Use” column lists the currently used styles in your source file. The “Replacement” column lists the styles from the template that will be used instead. Click a style in the replacement column to see the list of available template styles.
Note: The formatting of the source file remains unchanged. The changes appear only in the book.
If you’d prefer to specify the formatting yourself, leave the “Apply formatting from template” checkbox unselected and make the formatting changes in the source file instead.
Performing Text Substitutions
The Layout & Substitutions pane in the Formatting inspector lets you perform some common textual substitutions when building the book.
- Hyphenate text–Select this checkbox to hyphenate words at the end of a line to give a more pleasing layout.
- Convert to typographers quotes–Select this checkbox to convert from straight quote to typographer’s (curly) quotes.
- Convert to em dashes–Select this checkbox to convert from two adjacent hyphens to an em dash.
- Remove first paragraph indent–Book designers commonly set the first paragraph after a heading flush to the left margin. Selecting this checkbox causes this to happen during the book-building process.
- Replace Section Separators–Select this checkbox to replace the section separators in the manuscript (the “#” character) with a different separator.
Controlling Pagination and Page Numbering
The Pagination pane in the Formatting inspector lets you control the starting page and starting page number of the selected file(s).
The “Start on” pop-up button controls the starting page. Options are:
- Next Page–Causes the selected file to begin on the next available page.
- Odd Page–Causes the file to begin on the next odd (recto) page. In many books, chapters start on an odd page.
- Even Page–Causes the file to begin on the next even (verso) page.
The page numbering radio buttons let you restart the page numbering for the selected file at a particular value. It’s customary for the book body text to start at page 1, even though the title page and table of contents pages precede the book body.
- Select “Continue Page Numbering” to cause the selected file to continue the numbering from the previous file.
- Select “Start numbering at” to restart the page numbering at a specific value. Enter the starting page number in the adjacent field.
Building the Book
The book editor shows a preview of the PDF that will be created when you export your book. You can update the preview after changing the contents or formatting by clicking the “Build PDF” button in the File table.
You can also preview the PDF in the Preview app by clicking the Action (gear) menu in the Files table and choosing “Open with Preview.”
Fine-Tuning the Formatting After the Book Template is Applied
At some point, you might want to fine-tune the formatting that the PDF template applies to your text.
For simple edits (for example, adding bold or italics), you can modify the content in the source file and click Rebuild PDF. For more advanced edits, you can import an editable version of the PDF to your project and edit that file instead.
To fine-tune the template formatting:
- Open your book in the book editor and choose Advanced > Import Intermediate Files to Project from the Action (gear) menu in the Files table. This command will import the book’s intermediate PDF files as formatted text files that you can then edit.
- Adjust the imported files as desired.
- Replace the original files in the Files table with your adjusted files.
- Deselect the “Apply formatting from template” checkbox in the Formatting inspector.
- Rebuild the PDF.
Exporting a PDF
When you’re happy with the preview, click the Action (gear) button in the File table and choose Export. You’ll be prompted for a location to save the exported PDF.
You can also export the PDF using the export interface. To use this method, choose File > Export, select the book item, and click Next.