Storyist 4 for iOS is a free download on the App Store. To install it, open the App Store on your device, visit the Storyist page, and click “Get.”
When you open Storyist 4, you’ll see a window that offers in-app purchases for starting a free 14-day trial and for purchasing the app. To start your 14-day free trial, tap the “Free Trial” item, and then tap the Start Free Trial button.
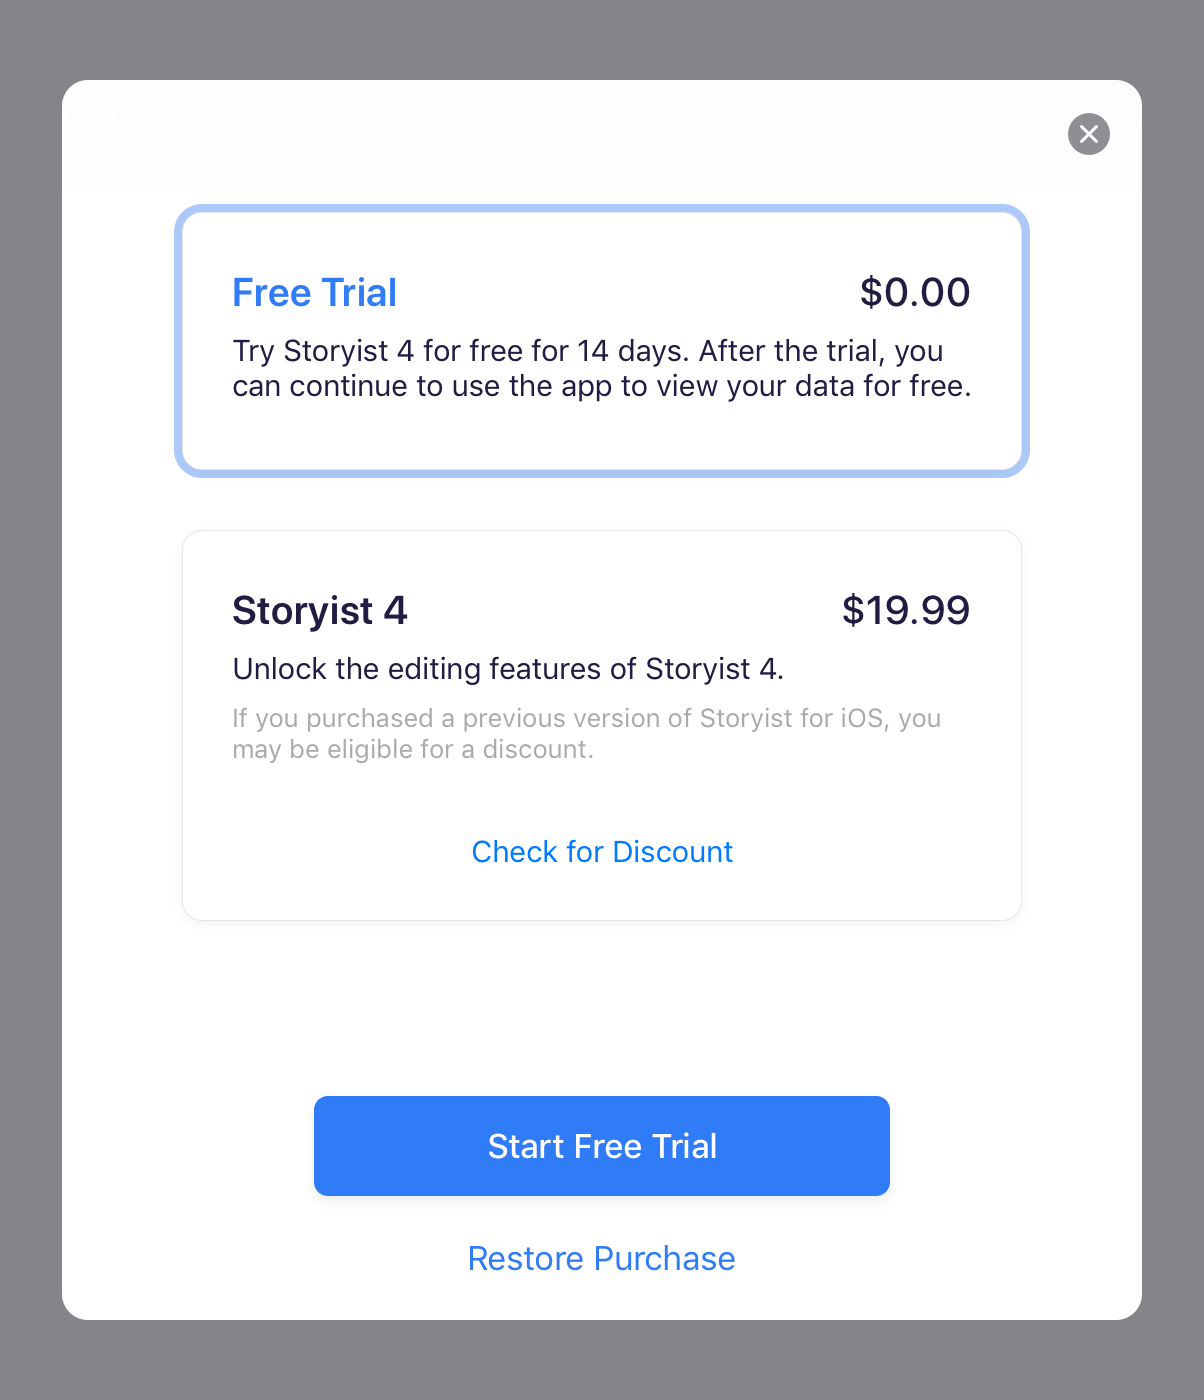
You may be prompted to sign in to the App Store to “purchase” the free trial. (Don’t worry. The App Store dialog calls it a purchase, but the price is free.)
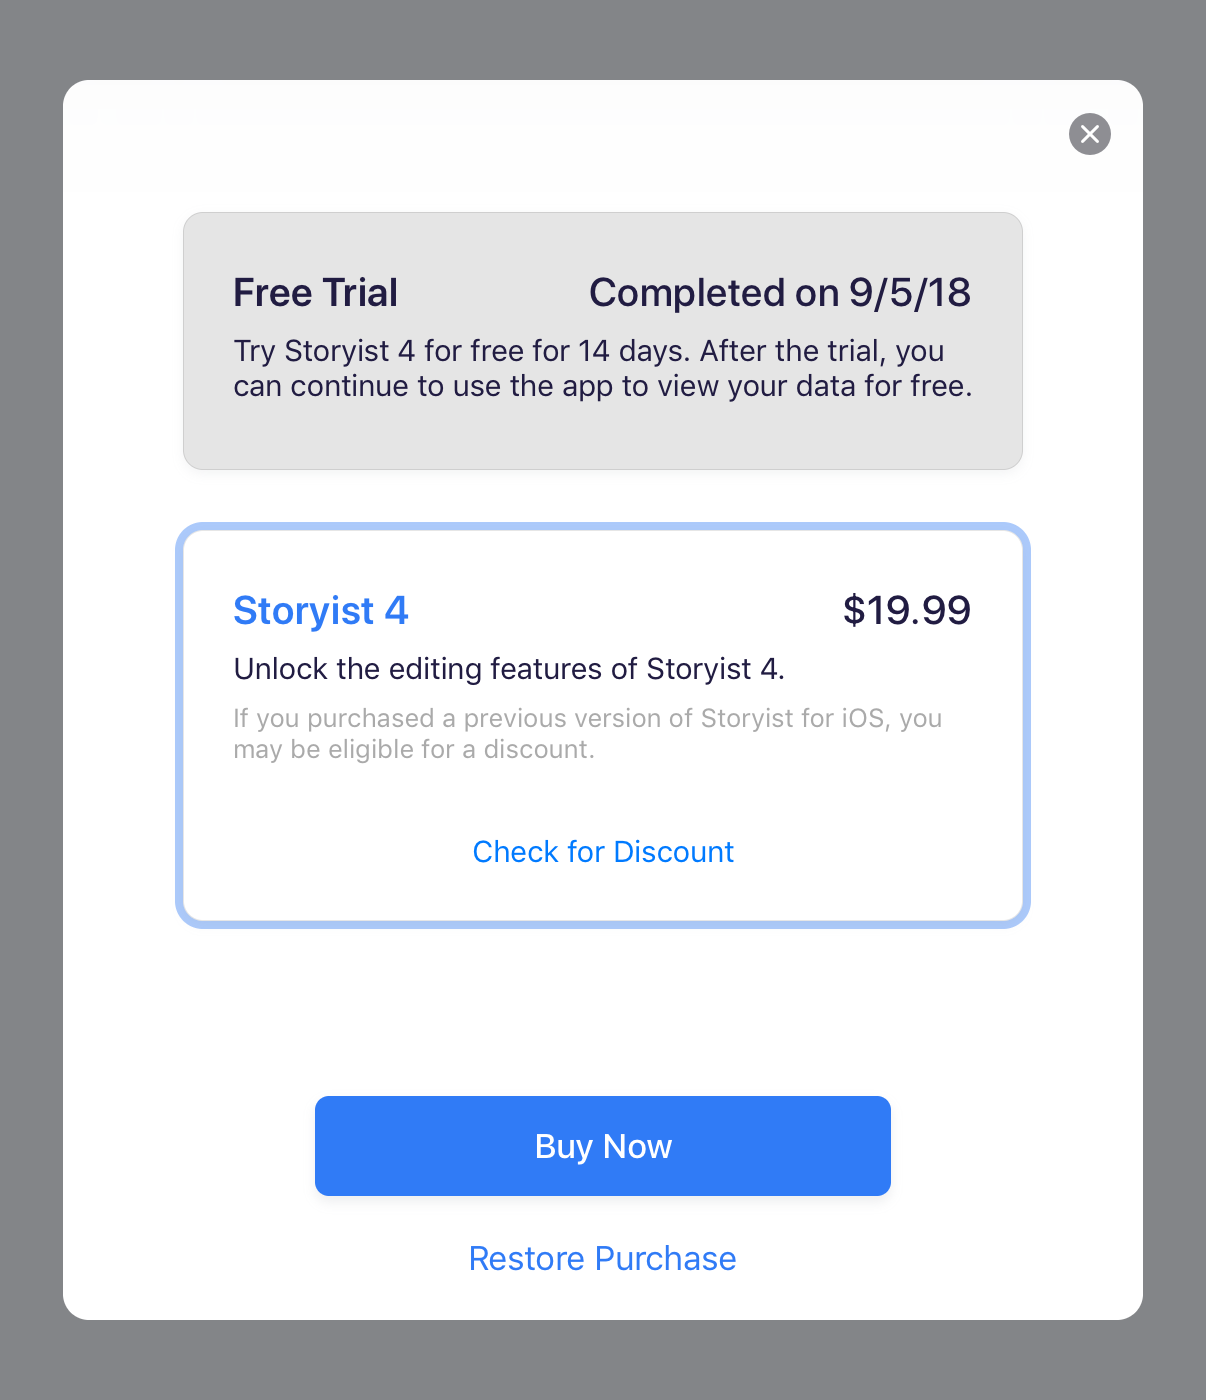
After the trial period ends, you can continue to use the app to view and export your data for free. If you want to use the editing features, you can unlock them by purchasing the app. No subscription required!
If you don’t want to start your trial right away, you can do so at any time by returning to the Storyist home screen and choosing In-App Purchases from the More menu.
If you purchased a previous version of Storyist for iOS, you are eligible for an upgrade discount. To see the discounted price, you’ll need to have both Storyist 4 and Storyist 3 on your device. Just tap the “Check for Discount” link in the “Storyist 4” item to have Storyist locate version 3 and apply the discount.

If you don’t have Storyist 3 on your device, you can redownload the app from the App Store.
To unlock the editing features after the trial ends:
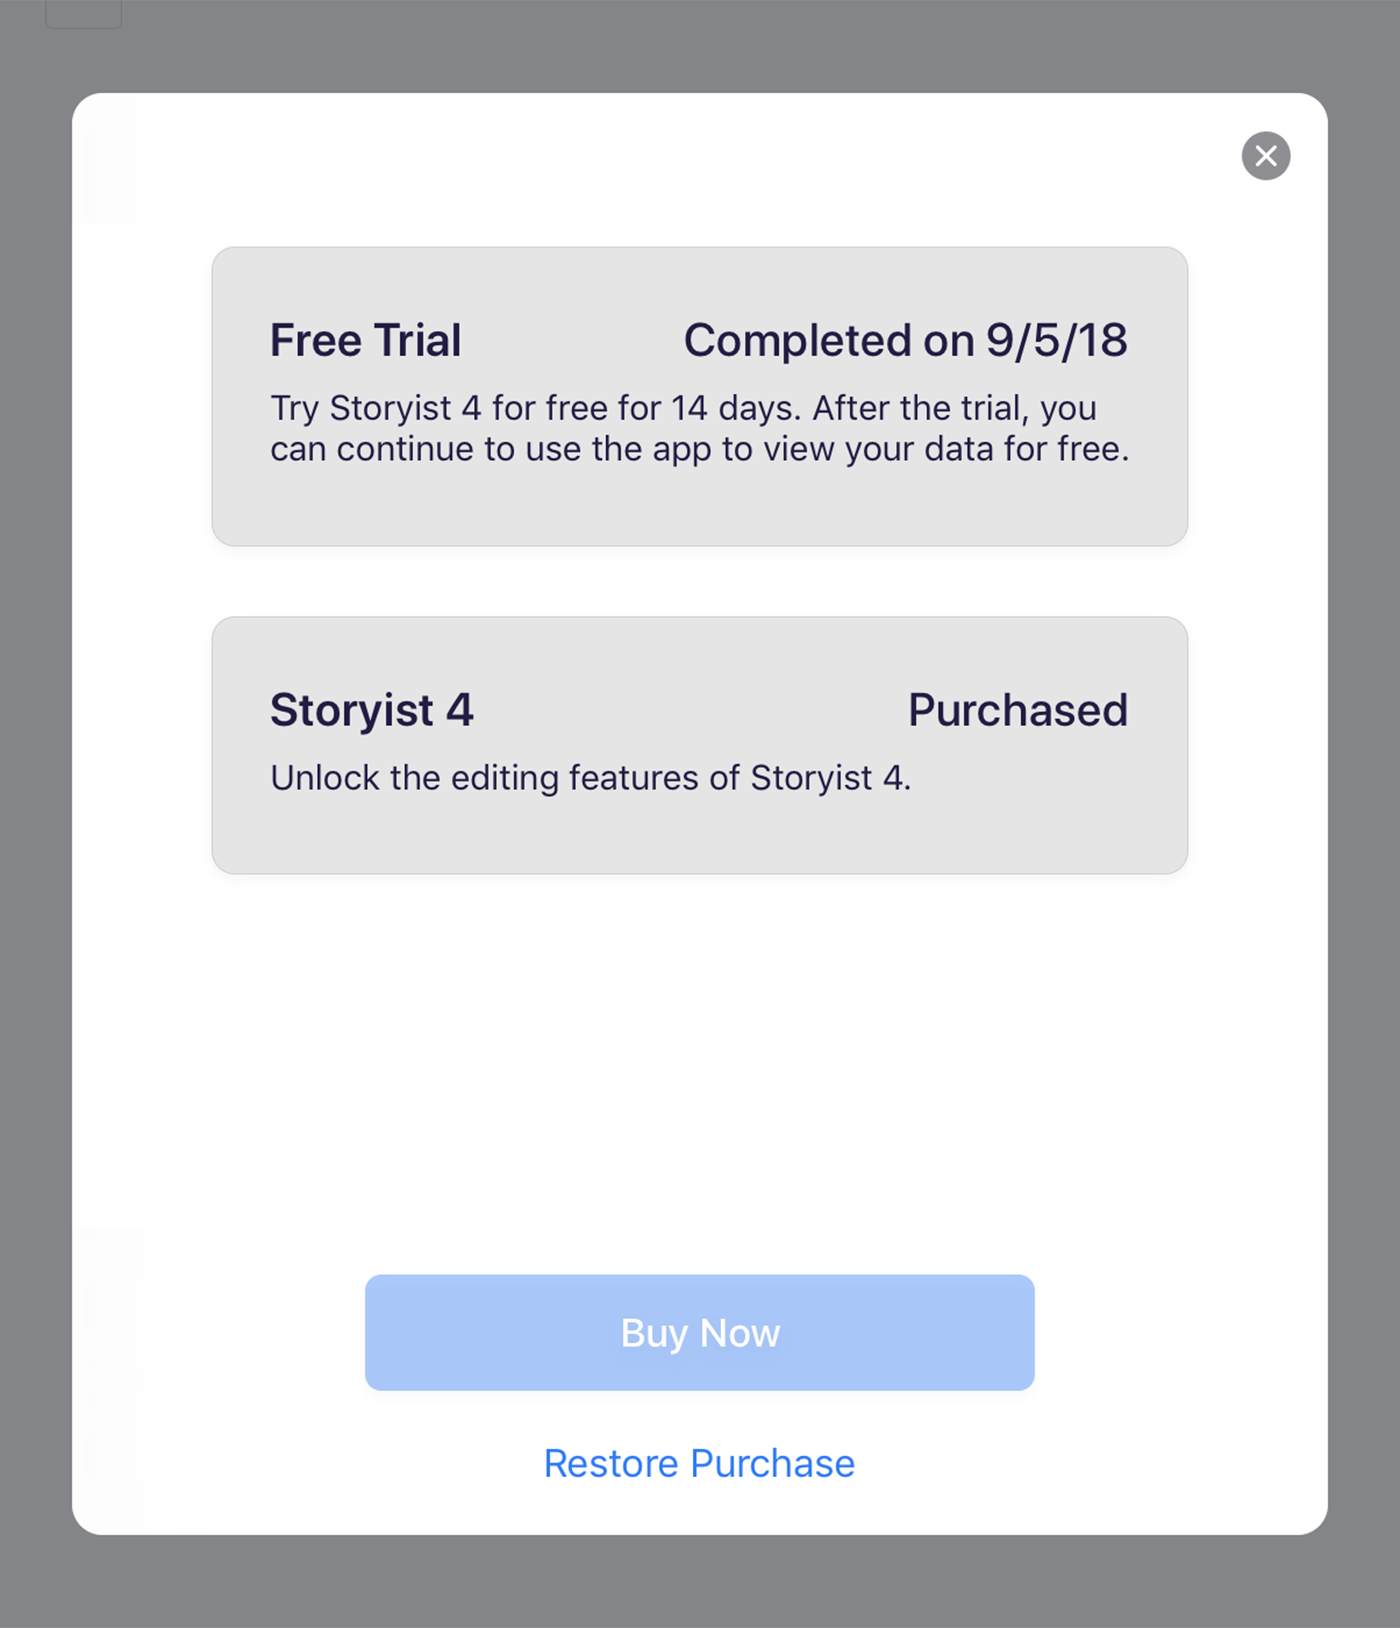
When the transaction completes, the price will be replaced by the word “Purchased” and the background will be gray as in the screenshot below.
After you’ve completed your Storyist 4 purchase, you can delete Storyist 3 after backing up your files.
A Note of Caution: When you delete an app, iOS removes the local files associated with the app–that is, the files stored “On My iPad” or “On My iPhone.” If you chose to store your files “On my iPad” or “On my iPhone” instead of “In iCloud” or “In Dropbox” when setting up Storyist 3, you’ll need to transfer your files to a backup location.
The easiest way to accomplish this is to simply transfer your local files to iCloud. Here’s how:
Storyist 3 will then move your local files to iCloud. Open Storyist 4 to verify that everything has been transferred before deleting Storyist 3.
After you purchase Storyist on one iOS device, you can use it on your other iOS devices for free. To do this:
More > In-App Purchases