Storyist has some great built-in book templates. At some point, though, you might want to add your own design touches to your book. In this tutorial, you’ll learn how to customize elements of your book’s interior, including:
If you’d like to follow along on your Mac, download the sample files for this tutorial and open the “Customizing Your Book Design – Start” project.
Note: “Customizing Your Book Design – Start” picks up where the Creating a PDF for Print tutorial left off. This tutorial assumes that you’re familiar with the concepts covered there.
The first step in customizing our book design is to create an editable snapshot of the PDF. To do this:
Advanced > Import Intermediate Files to Project.You now have a new folder in your project containing editable versions of the files that make up your PDF.
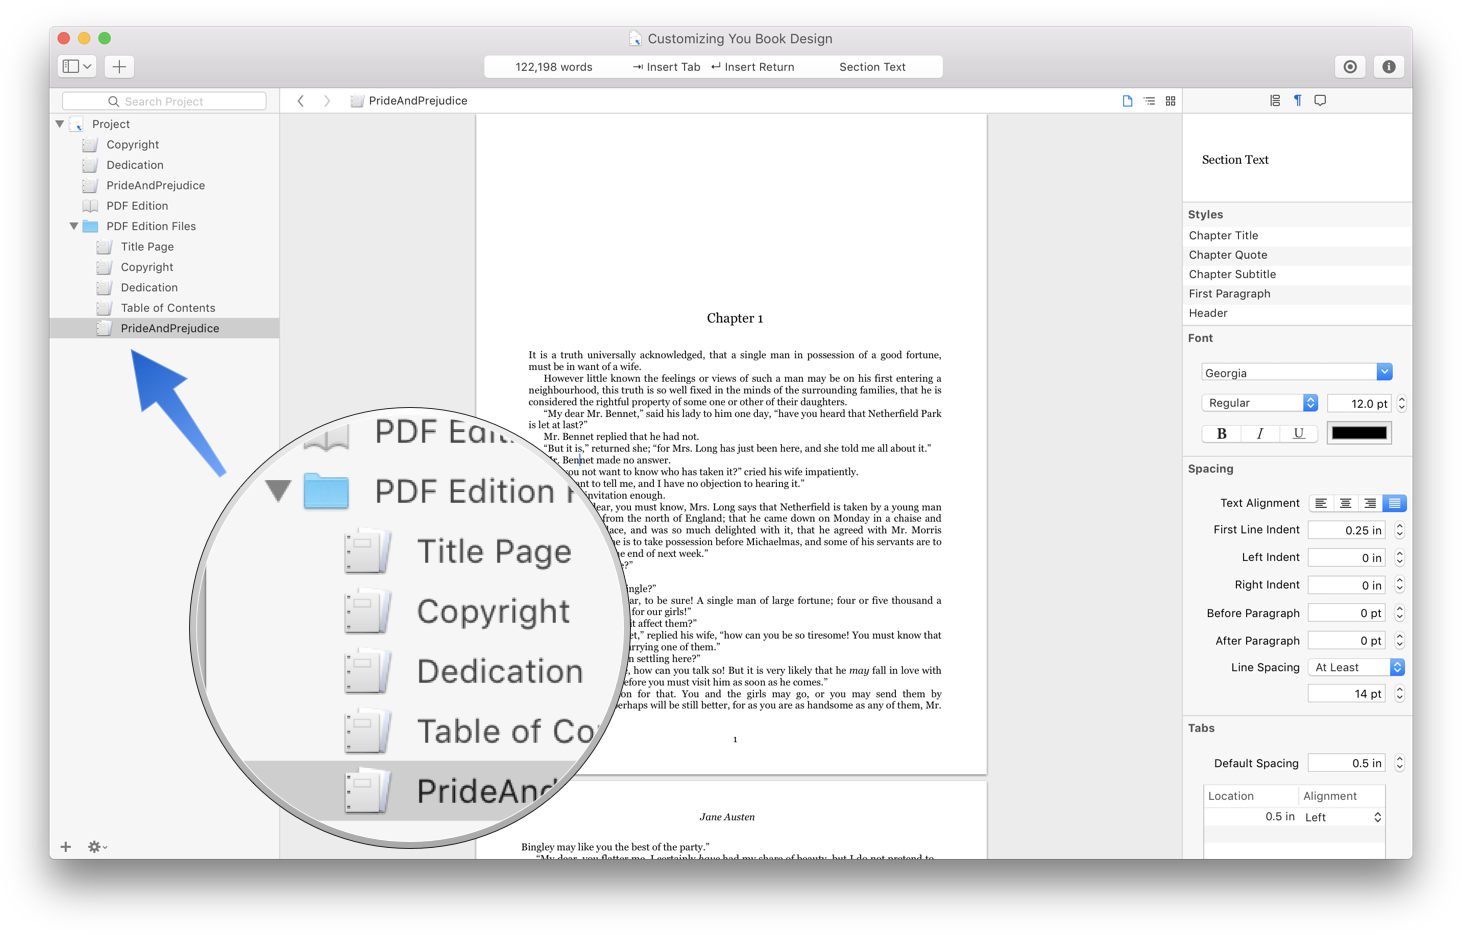
Notice that these new files have the formatting that appears in the PDF.
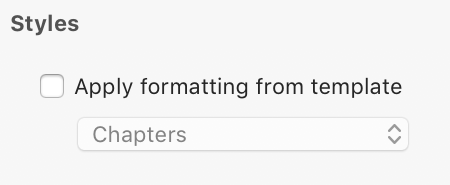
The next step is to replace the original files in the Files table with these new files. To do this, just drag the new files–except for the table of contents–to the Files table and delete the originals. Since the files are already formatted as we’d like them, uncheck the “Apply formatting from template” checkbox.
If you’ve made any other changes to the appearance (for example, to adjust the pagination to start on an odd page), make sure you reapply them here.
Note: We didn’t replace the table of contents because we’re going to be making some changes that affect the pagination of the book. We’ll replace the table of contents later in this tutorial.
Now click “Build PDF.” You should see the same file.
One final thing before we move on: Notice that the paper size of the new project items is the size you’ve selected for the project in File > Page Setup, not the size of your book. It’ll be easier to edit the files if the page size is the same as the final PDF page size, so let’s create a custom paper size.
To create a custom paper size:
File > Page Setup.Manage Custom Sizes.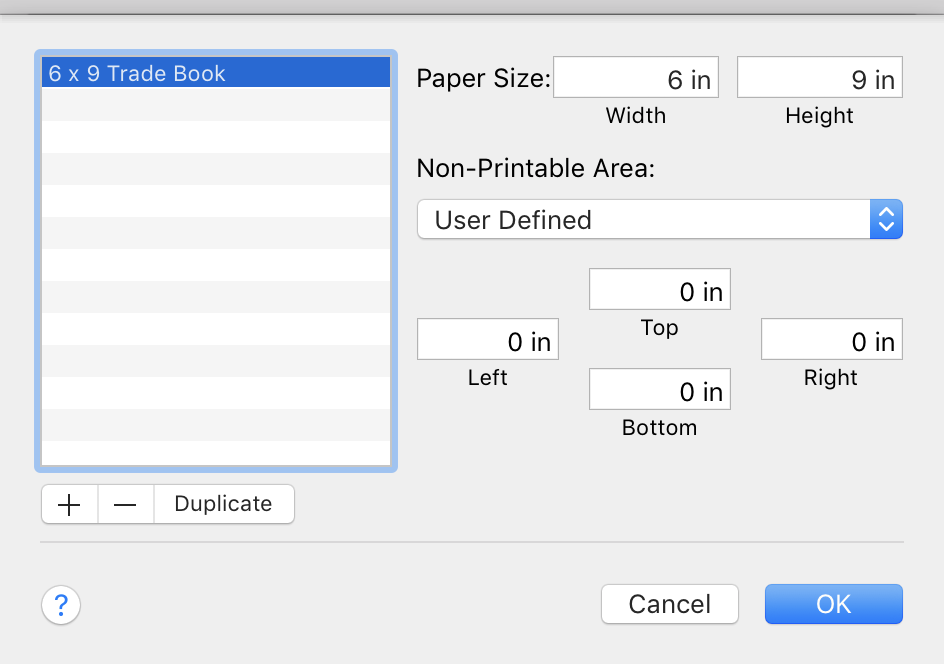
Now choose File > Page Setup again and select your new paper size.
Storyist’s built-in book templates use the fonts that come with your Mac. However, there are many other fonts available. Some are free. Some are not. A discussion of the finer points of font selection is beyond the scope of this tutorial, but you’ll find lots of advice on the internet. The article “Picking Fonts for Your Self-Published Book” is a great place to start.
For this tutorial, we’ll use Adobe Caslon Pro and Minion Pro. Both are available from Adobe. If you have one of the Creative Suite apps (e.g., Photoshop, InDesign), you might already have access to these fonts.
To start, modify the styles in the book body (PrideAndPrejudice) to have the following fonts:
The Working with Styles tutorial has a good introduction on how to modify styles.
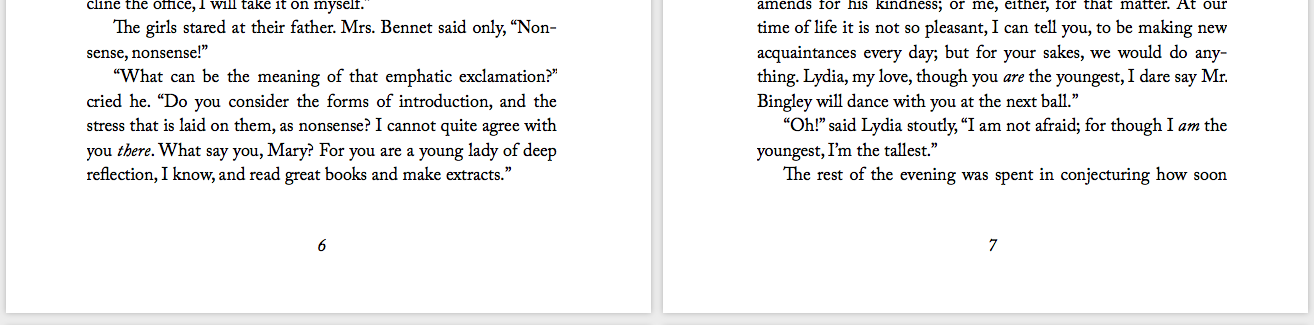
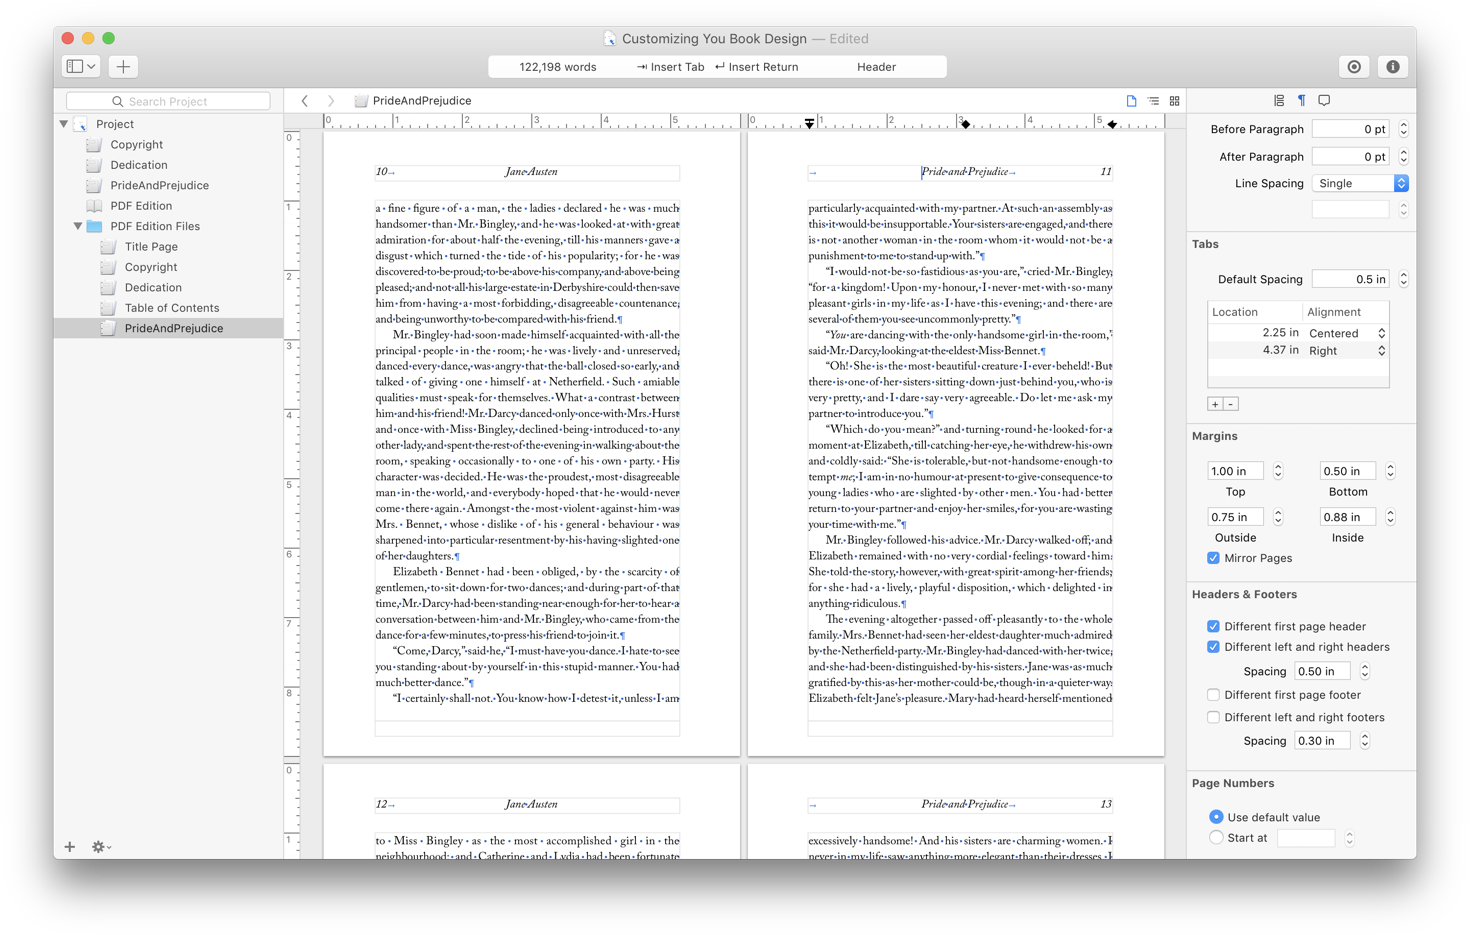
A word about pagination: Most book designers prefer pagination settings that result in “square pages” (as shown in the screenshot below) to those that avoid widows and orphans. The Storyist templates do not try to avoid widows and orphans. (The paragraph that start with “The rest of the evening was spent” is an orphan).
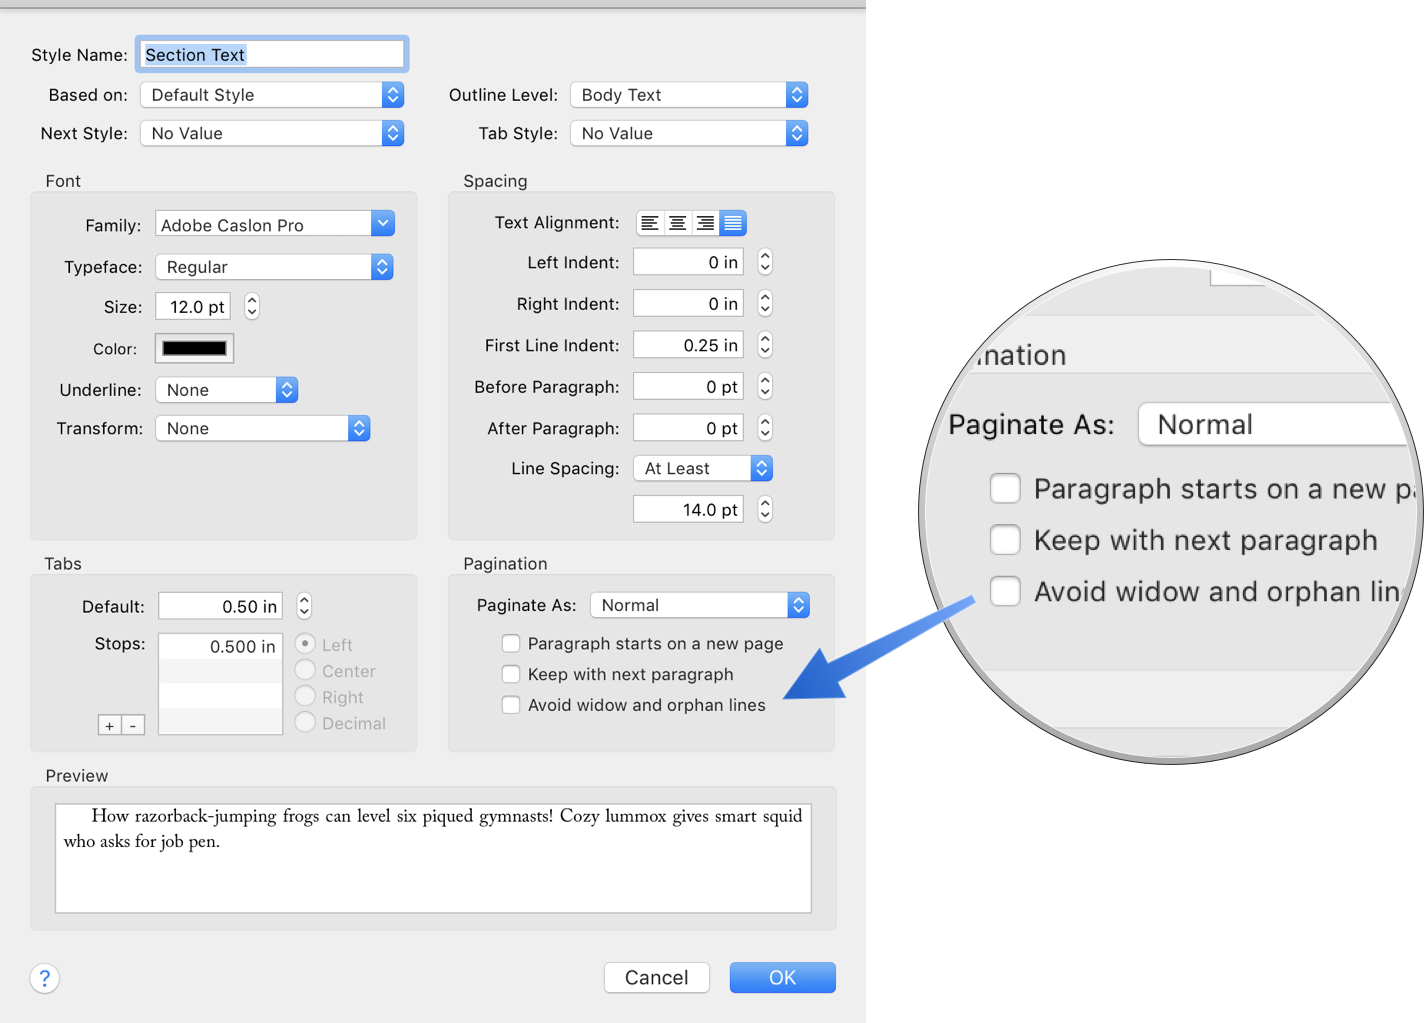
If your design calls for eliminating windows and orphans, you can enable the setting when editing the Section Text style by checking the “Avoid widow and orphan lines” checkbox.
Now that we’ve updated the style sheet for the book body, we can use it to update the other files. For each file in your book:
Format > Style > Change Stylesheet > Project Stylesheet.To learn more about the Change Stylesheet command, please see the Working with Styles tutorial.
At this point, the headers and footers are set up such that:

We can see how this is accomplished by looking at the Headers & Footers pane in the format inspector.
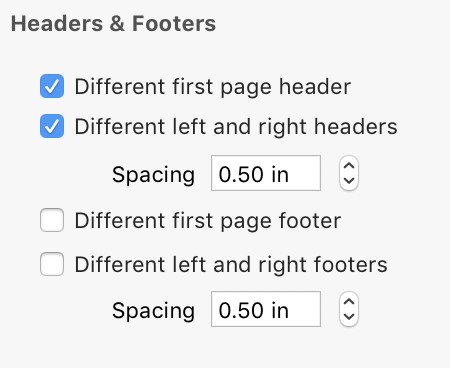
Notice that the “Different first page header” and “Different left and right headers” checkboxes are checked. With these settings, we can edit the first, left, and right headers independently.
For example, to remove a header from the first page, simply select the header on the first page and press Delete. To edit the left header, position the cursor in a header on a left page and type away. To edit the right header … you get the picture. All of the formatting functions, including styles, are available when editing headers and footers.
Another popular design is to place the page number, the author, and the title in the header and leave the footer blank.

Let’s adopt this design.
To make the header and footers layout easier to edit, we’ll turn on some additional guides and show invisible characters using the following commands:
View > Layout > Show Page Guides,View > Layout > Show Rulers.View > Layout > Page Layout - Two Up.View > Show Invisible CharactersNotice that the text in the left and right headers is center-aligned. We’d like to add page numbers to the headers so that technique won’t work for this design.
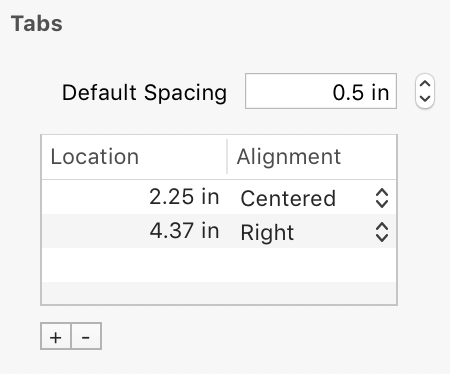
Instead, we’ll use centered tab stops.
Format > Text > Align Left command.Edit > Insert > Page Number command.You can add a centered tab stop as follows:
You can also edit tab location and type in the Tabs pane in the format inspector. Here are the settings for the left header.
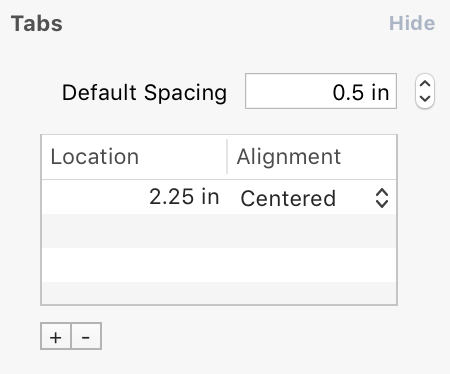
And here are the settings for the left header.
When you’re done editing the header, select the footer text and press Delete.
Now that we don’t have a footer, we can adjust the bottom margin a little bit, say from 1 in. to 0.5 in. and the footer spacing to 0.25 in. (You’ll need to change the margins in the PDF book, not the project file for them to take affect in the PDF.) Now when we rebuild the PDF, the page count drops from 456 to 432, which means your book will cost less to print.
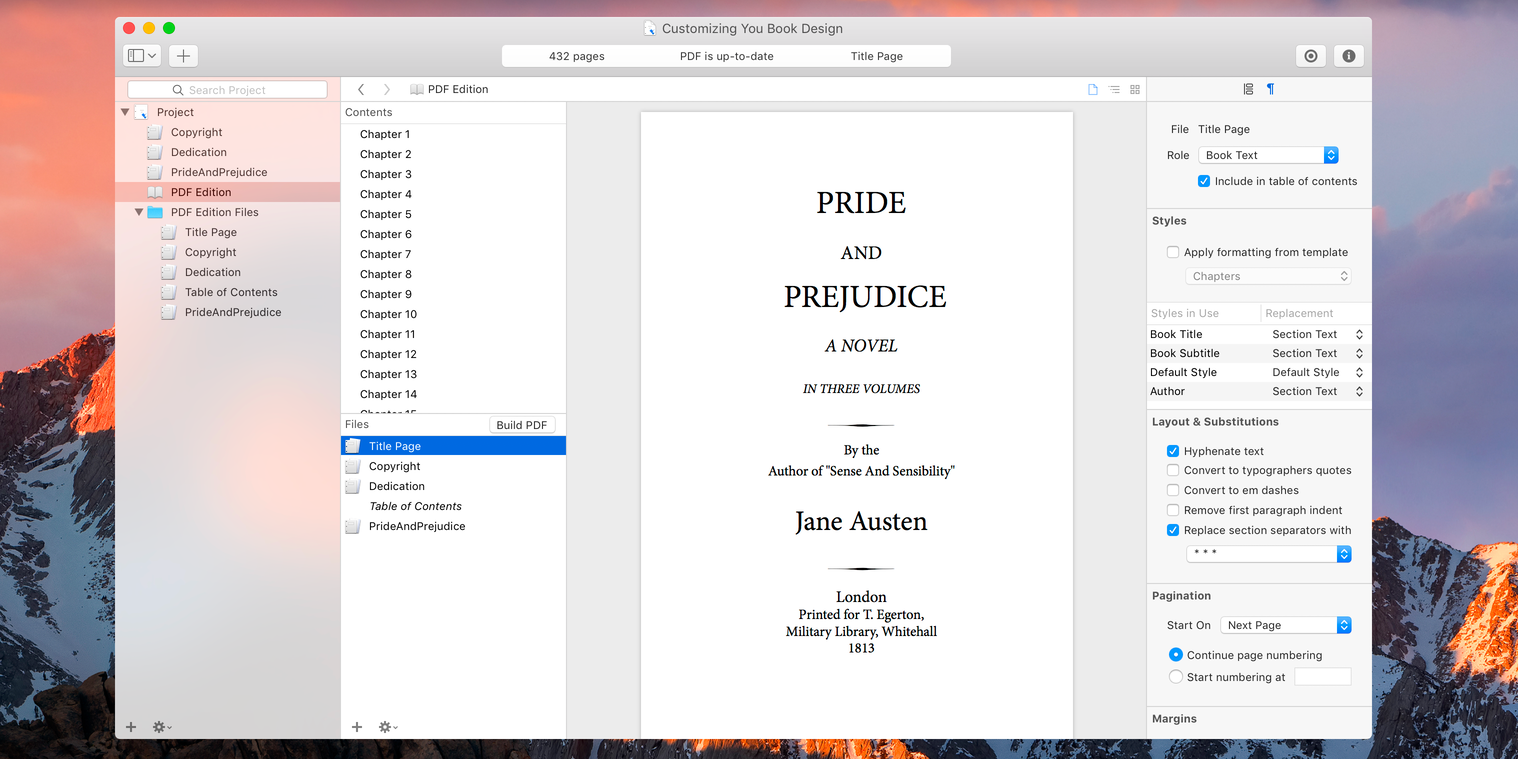
Title pages usually include publisher information in addition to the title and author name, so if you have a publisher, you should include the publisher’s full name and the name of the city where the main offices are located. You can also include other information as needed.
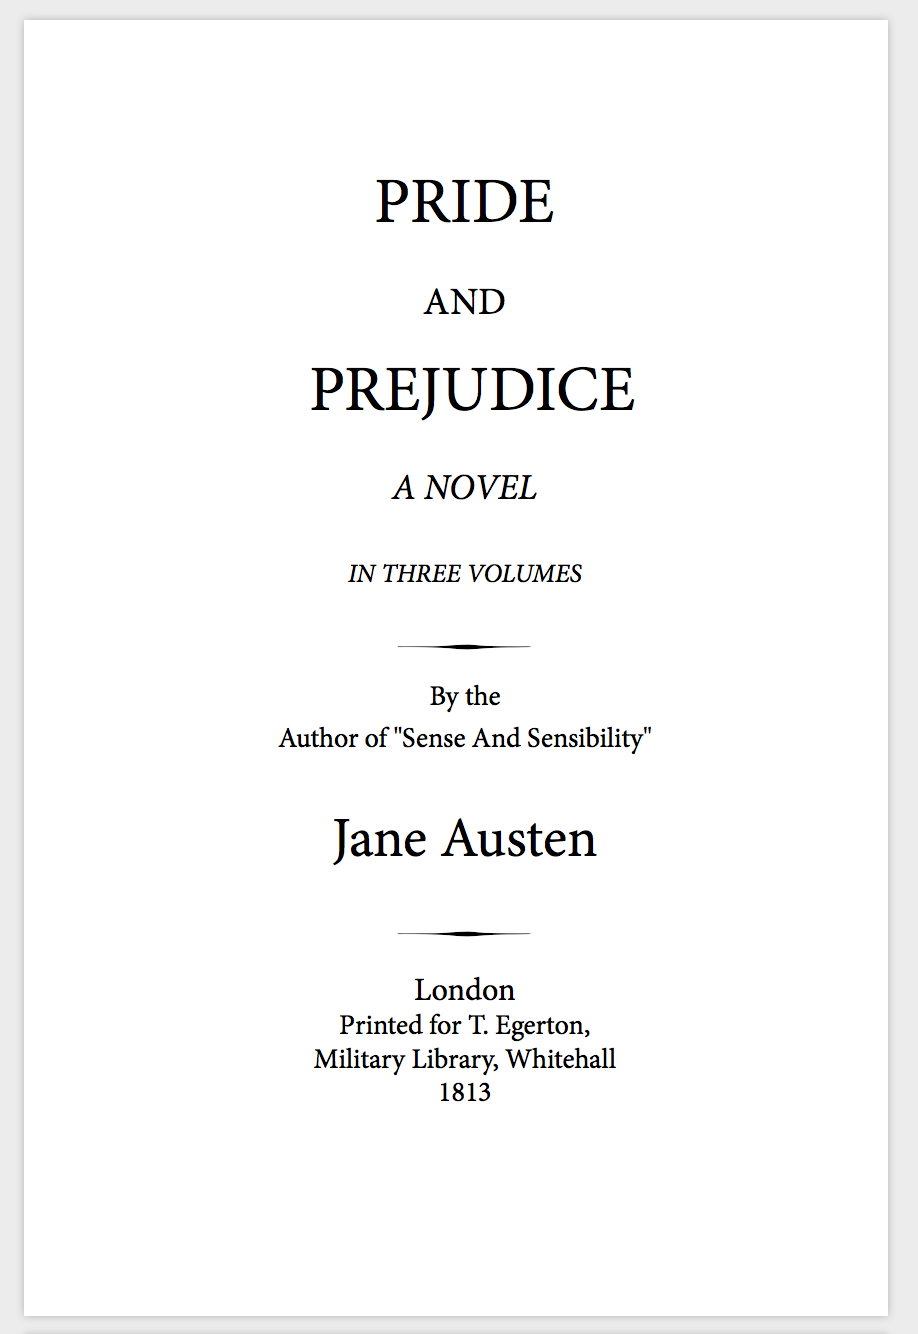
For this tutorial, let’s reproduce the title page of the first edition of Pride and Prejudice.

Editing and formatting the text is covered elsewhere, but what about the separators between “in three volumes” and “by the author of?” These graphical ornaments are called fleurons.
One way to add fleurons would be to create them as images in an app like Photoshop and import them into the file. An easier way is to simply use the ornaments that come with several of the fonts on your Mac. You can use the Font Book application to find them.
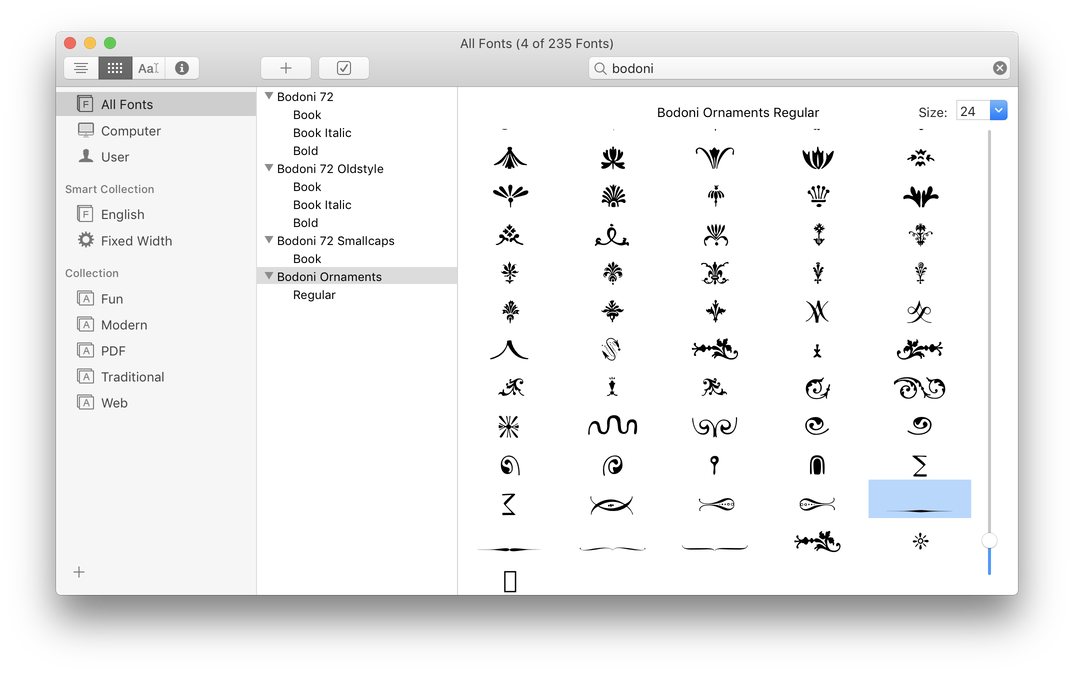
Both the Hoefler Text and Bodoni Ornaments fonts include fleurons. We’ll use Bodoni Ornaments. When you find a fleuron you’d like to use, just drag it to your title page.
So, with slight changes in punctuation and a concession to the fact that the author is now famous enough to warrant a mention on the title page, we have this:
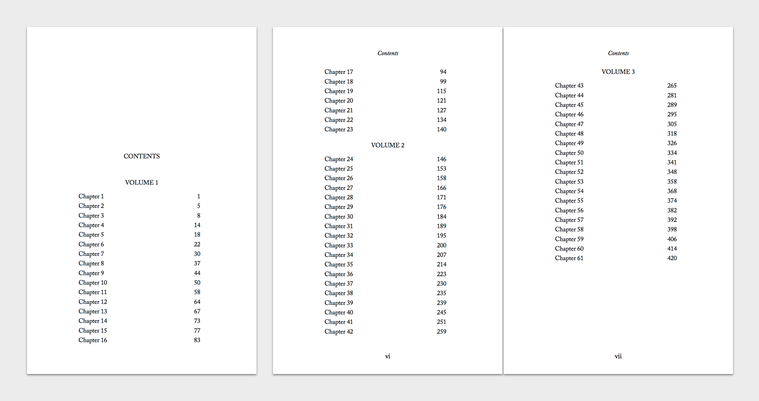
Now that our title page says that our book is a novel “in three volumes,” we ought to update the table of contents to be consistent. In the original publication, the chapters were divided into volumes as follows:
We’ll change our table of contents to match.
Remember that the table of contents is automatically generated and that we didn’t replace it when we imported the intermediate files to the project. Let’s replace it now.
Advanced > Import Intermediate Files.Since the page numbering in the body text restarts at page 1 and since we won’t be changing the body text from here on out, we can edit the table of contents directly.
For this tutorial, we’ll simply add the volume designations and indent the chapter entries a little on each side. If your chapters have subtitles (the chapters in Pride and Prejudice do not), you could replace entries of the form “Chapter n” with something like “n Subtitle.”
After making these changes, we end up with this:
That’s about it for this tutorial. Be sure to check the Tutorials page for more information
Good luck with your books!